Strength And Conditioning, Weightlifting
Clean and Jerk Exercise: Detailed Guide from Oleksiy Torokhtiy

Welcome to the Clean and Jerk guide by professional weightlifter and world champion Oleksiy Torokhtiy.
The Clean &; Jerk is a highly-beneficial, well-rounded, and time-efficient exercise, excellent for all athletic levels.
The guide explains in great detail how to do clean and jerk lifts, why they’re good, how and when to add them to your workout, and which common mistakes to avoid.
But first, some necessary information is needed before we get into the full tutorial.
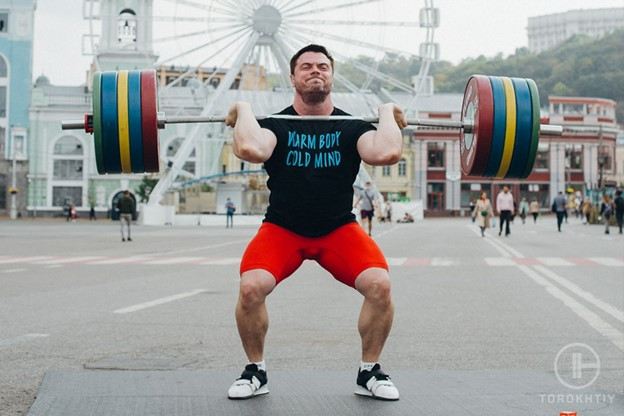
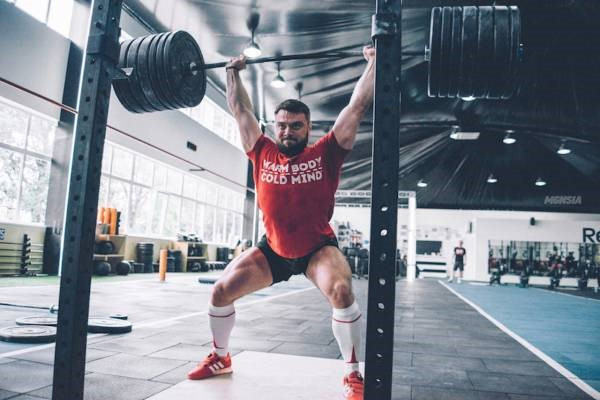
What is the Clean and Jerk?
The Clean and Jerk often stylized as Clean &; Jerk, is one of the two competitive Olympic lifts, along with the Snatch.
It was first introduced at the 1920 Olympic Games that took place in Antwerp, Belgium, as both a one-handed and two-handed exercise. However, in 1928, the Olympics officially removed the one-handed version from the competition. Since then, the two-handed Clean & Jerk as we see it today has been a staple of the Summer Olympic Games and many other weightlifting and cross-training events.
As the name suggests, this is a two-part lift comprising the “Clean” and the “Jerk.” Both of these movements exist as separate exercises, but when combined, they make the famous Olympic exercise. It is a compound exercise, simultaneously activating various muscle groups and physical attributes.
- The first part, the Clean, requires lifting the barbell off the ground and into a racked position on your shoulders. This part primarily targets the lower body muscles, including the glutes, hamstrings, and quads, among others.
- The second part, the Jerk, requires you to push the barbell from the racked position into an overhead position. This part works your core strength and upper body muscles, including the shoulders, back, arms, and more.
To perform the exercise, the athlete must combine strength, speed, and technique, as well as explosiveness, agility, and balance. The lift provides a well-rounded, efficient, and safe full-body workout when executed properly. Because of these factors, it’s gained large popularity outside of competitive weightlifting as a standalone exercise. Nowadays, it can be seen in the broader fitness community and is practiced by all kinds of professionals, including sports players, martial artists, public defense personnel, and CrossFit athletes, to name a few.

Benefits Of The Clean And Jerk Exercise
Full-body Workout
As previously mentioned, getting a well-rounded, full-body exercise is one of the biggest reasons athletes add the Clean and Jerk workout to their routines. The Clean primarily targets the lower body muscles, including the glutes, hamstrings, and quads, while the Jerk develops your upper body muscles, including the shoulders, back, and arms.
Improved Health
Weightlifting is known to provide various physical and mental health benefits.
Experienced athletes already know it’s an effective way to gain muscle, burn fat, and develop joint health and bone density.
But did you know it can be more beneficial for cardiovascular health than cardio itself?
Furthermore, people who perform weight training two or more times a week are significantly less prone to common mental health issues such as depression, according to Harvard Health Publishing.
Functional Exercise
The Clean & Jerk is a dynamic exercise that trains your functionality and strength.
Performing it will help you develop explosive power, agility, mobility, and balance, among other things.
It also imitates many movements found in traditional sports, which can improve your overall athletic performance and lower the risk of injury on the field.
How To Do The Clean And Jerk
Here’s the step-by-step process on how to do Clean and Jerk lifts.
We’ve separated the exercise into four segments - Starting Position, Clean, Jerk, and Finish - to make it easier to break down and memorize.
Starting Position
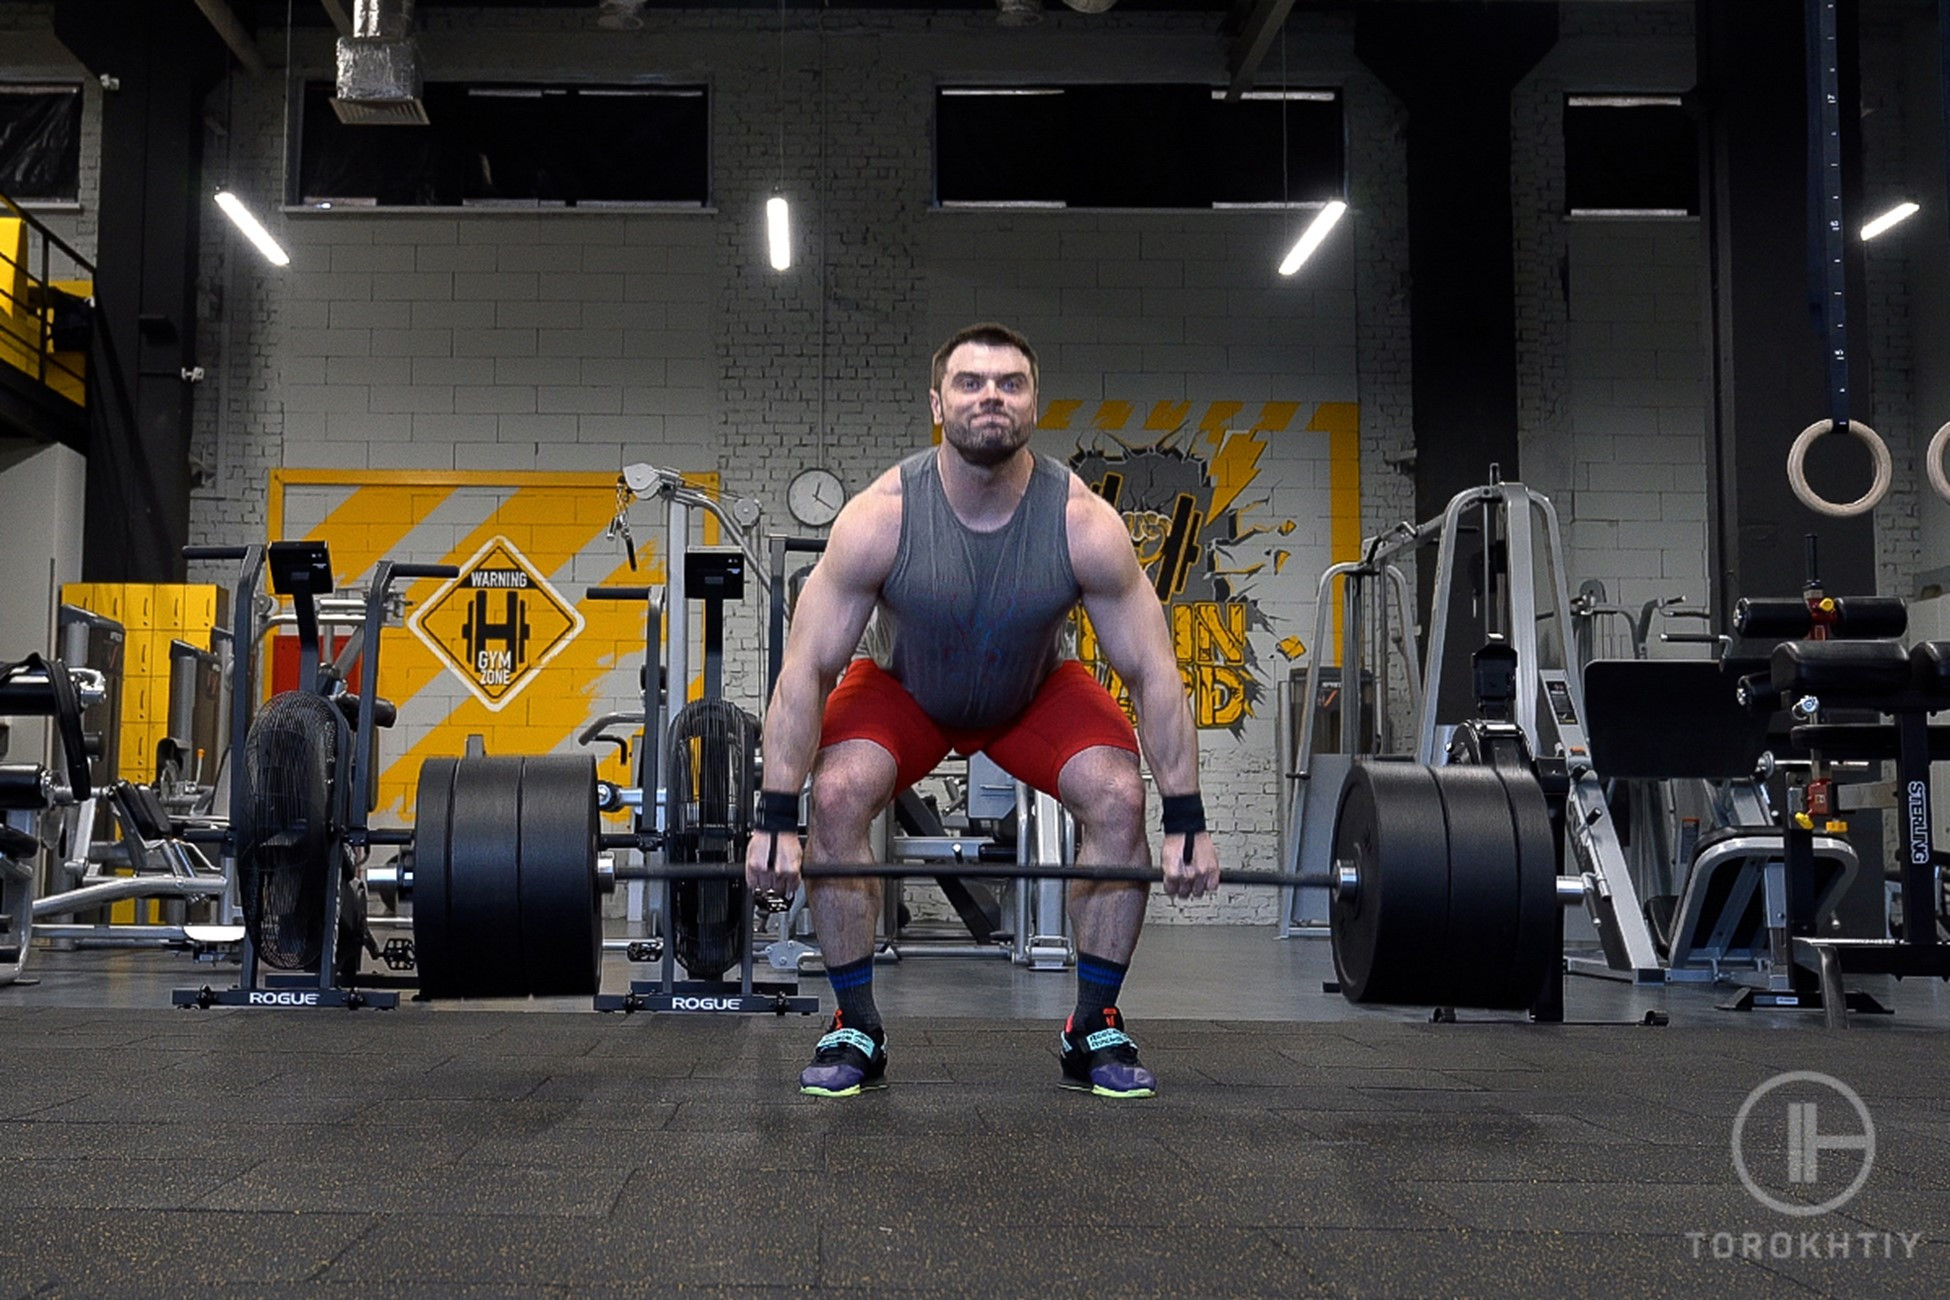
Start by placing the barbell on the floor and approaching it from the front. Stand with your feet shoulder-width apart and your toes pointed slightly outwards. The bar should be directly above your feet and close to touching your shins.
First, bend down into a half-squat with your hips leveled with or just slightly above your knees to assume the start position. Grip the barbell over the top slightly wider than shoulder-width apart. A great way to measure if your grip is wide enough is resting your elbows on your knees and letting your forearms fall directly down. If you’re using an Olympic barbell, you can use the knurl marks to determine hand placement. Generally, your palms should be somewhere on the inner knurling, depending on your size.
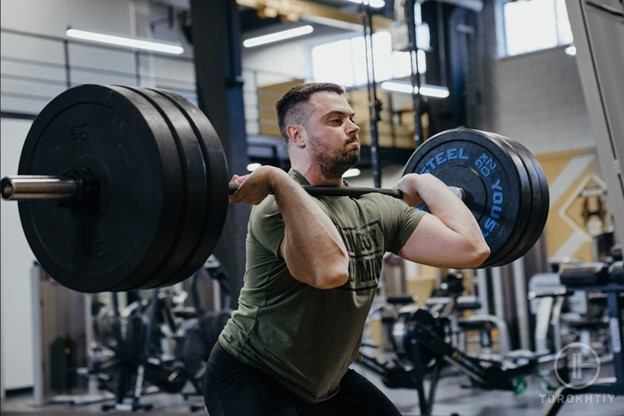
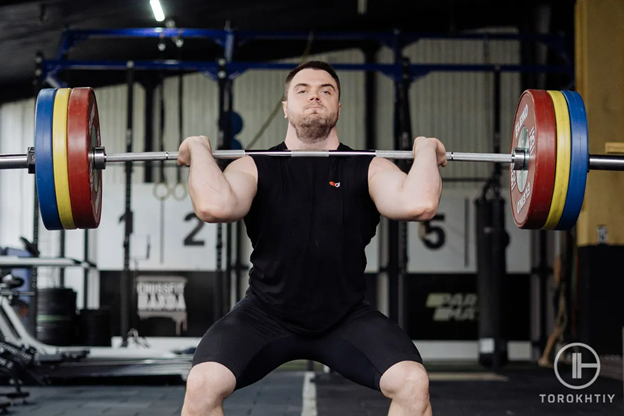
The Clean
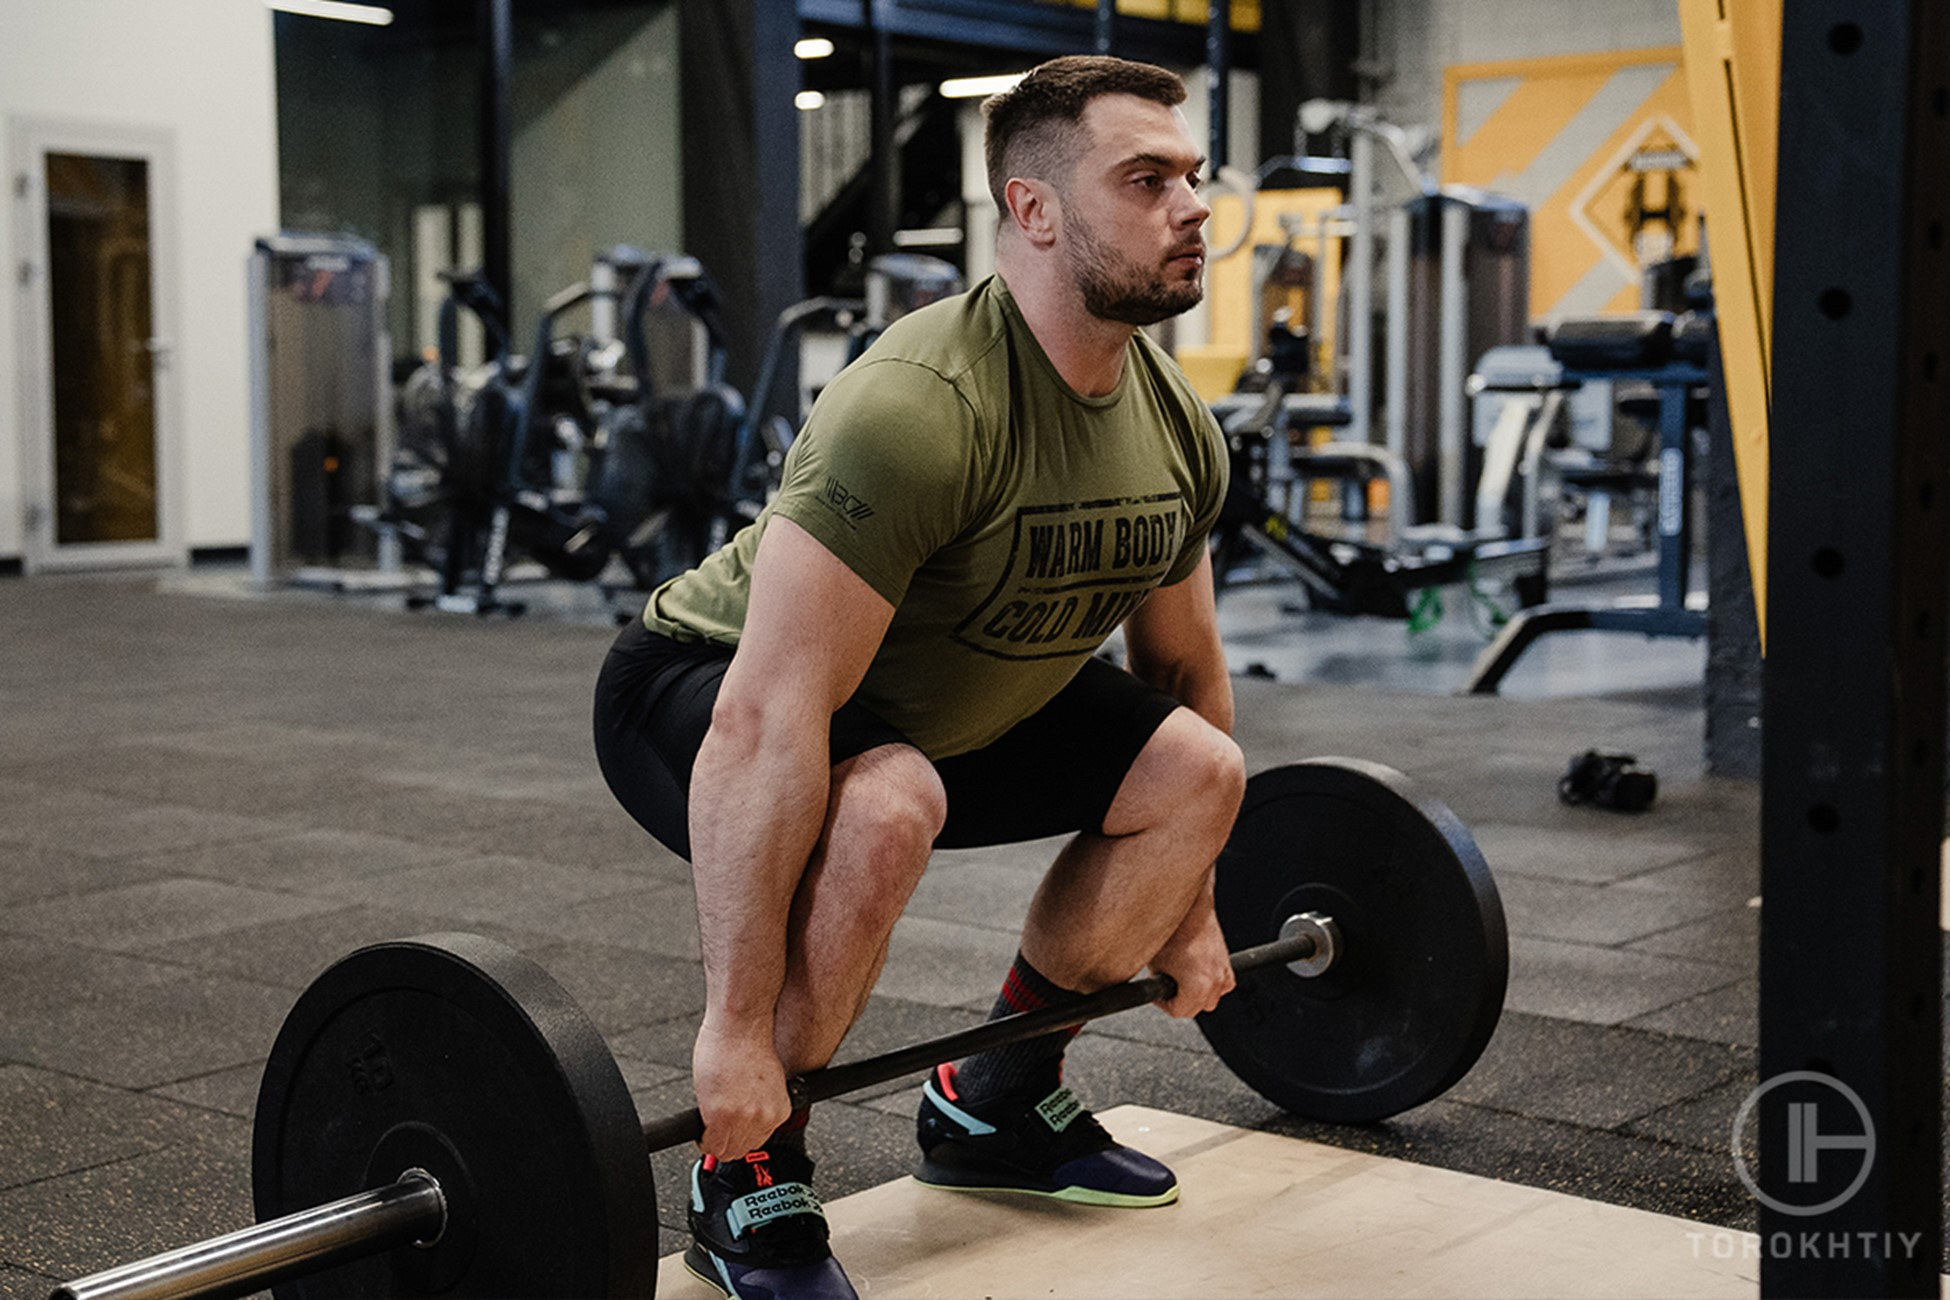
Once you’re comfortably in the starting position, first take a deep breath into your stomach and tighten your core. To begin the Clean, push hard into the ground with your feet and begin to stand up by raising your upper body and hips. Keep your back straight and the bar close to your legs - experienced athletes keep it close enough even to graze their shins as it goes up.
Once the bar passes your knees, explosively extend your hips forward and knees backward to accelerate it. Do not use your arms to pull on the bar. This is a common beginner mistake. Your arms should be completely disengaged from this portion of the lift apart from providing direction to the barbell.
As the bar reaches its highest point, you should feel your heels starting to lift off the ground. Use this momentum to drop your body under the bar by slightly hopping. Do not attempt to jump; let the motion naturally carry your toes off the ground and land with a full foot. At the same time, rotate your arms at the wrists to extend your elbows outward from your body. Receive the bar on top of your shoulders with your elbows pointed forward.
You should land anywhere from a half squat to a full squat position, depending on the weight. Regardless, complete the Clean by lifting yourself into a standing position and resting the bar on your shoulders.
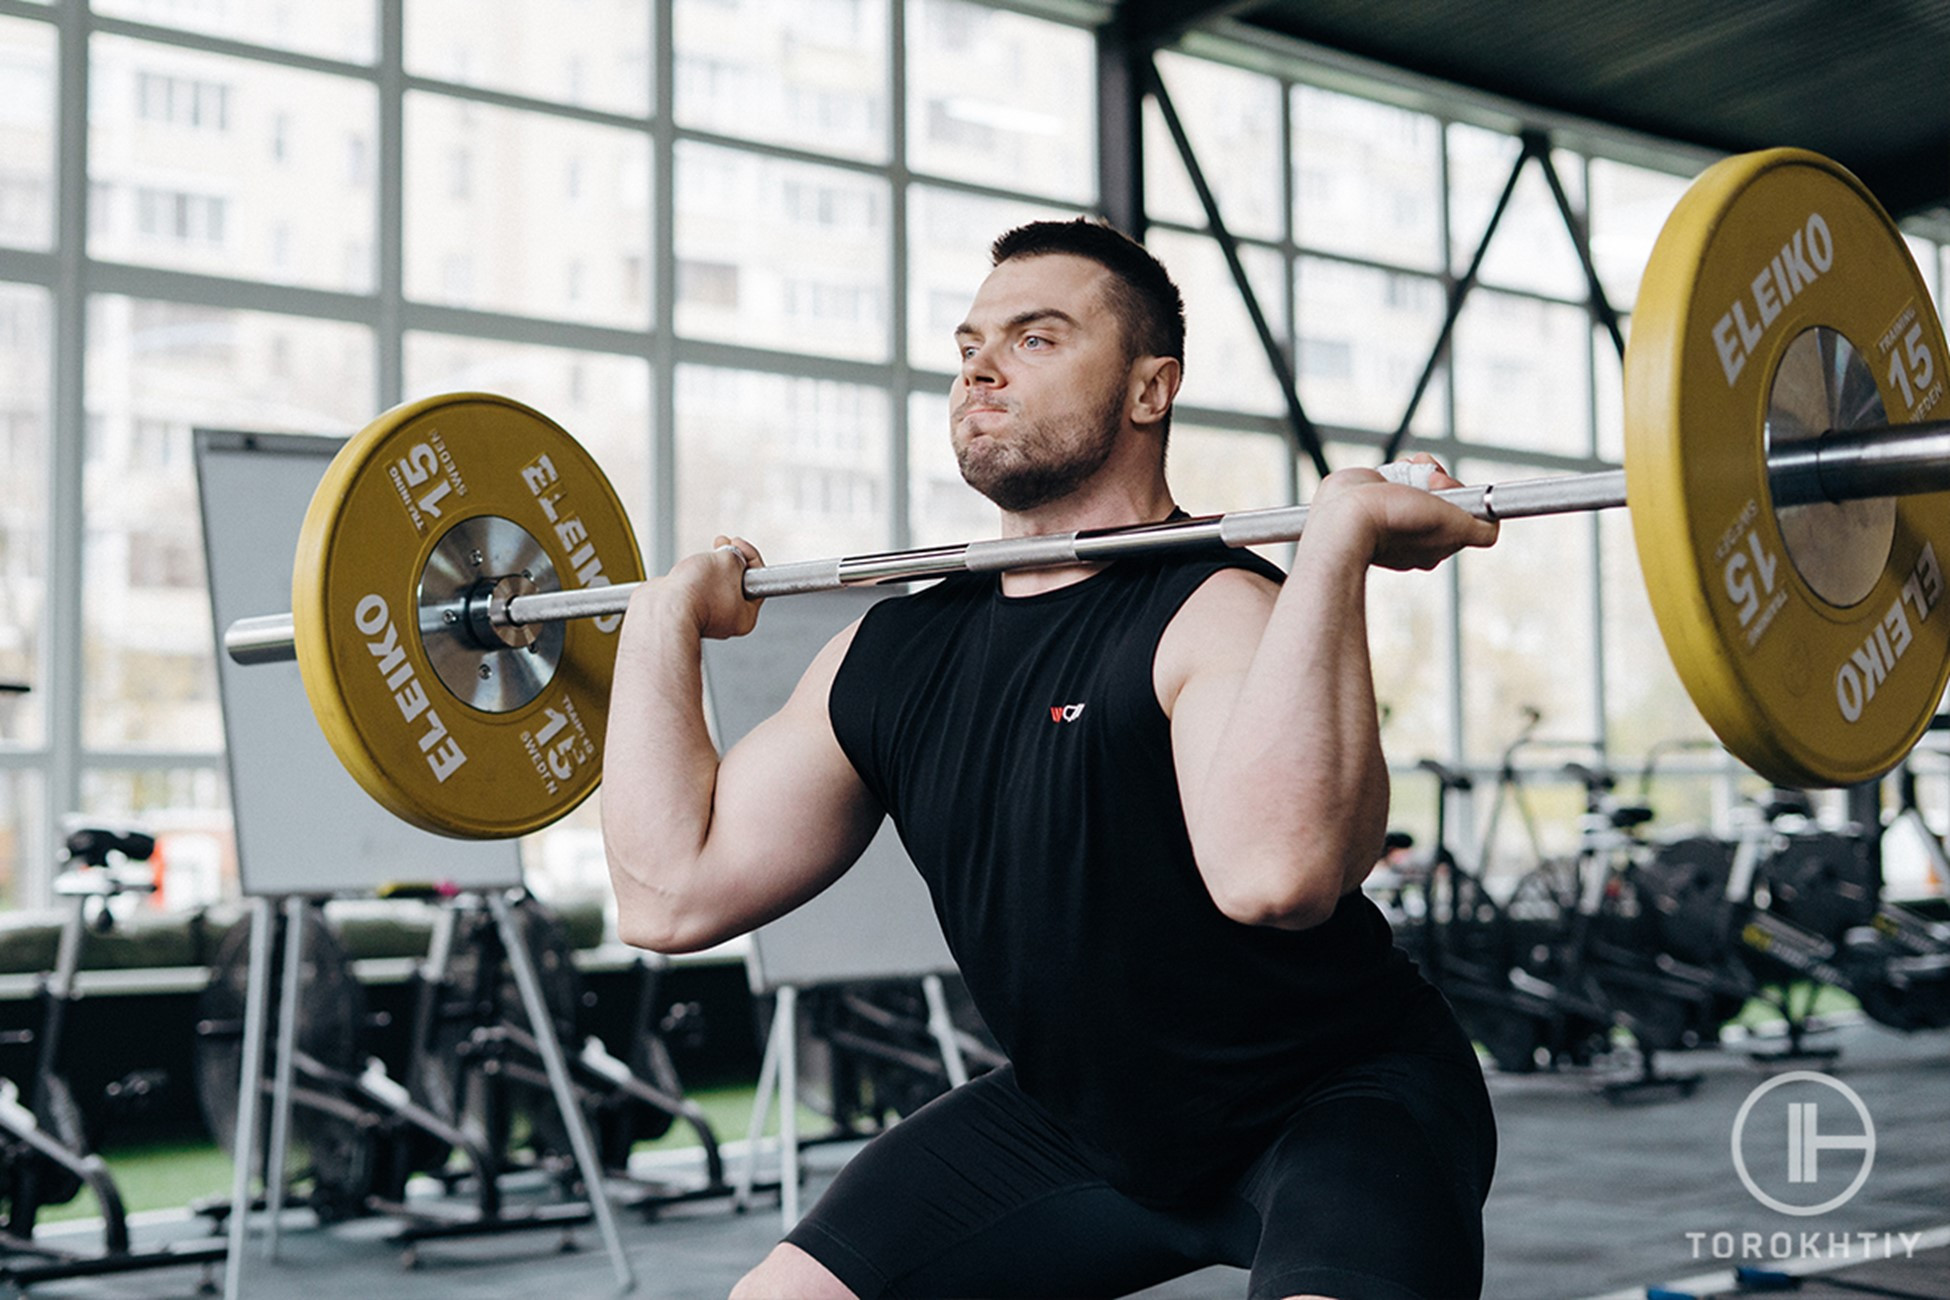
The Jerk
Once you’ve caught the barbell in the Clean position, you can attempt the Jerk. First, dip down slightly by bending your knees and hips. Keeping your core tight and chest up, quickly extend your legs to push the barbell upward, simultaneously using explosive arm movement to press it overhead. As the barbell rises, use this momentum to perform another hop and land in a half-squat or split squat position (one leg forward, one leg back), catching the barbell overhead. These are known as the Power Jerk and Split Jerk, respectively. Both landings are considered viable competitively, and it will mostly come down to preference.
Finish
To complete the lift, you must stand up straight and balance the barbell overhead. At this point, most athletes will drop the barbell. This is perfectly fine if you’re using an overwhelming amount of weight; a proper Olympic barbell and weight plates can be dropped safely. However, you must learn to properly return the barbell to the ground to maintain flow during multiple reps.
Start by letting the barbell drop down onto your shoulders, catching it back into the final Clean position. Quickly rotate your elbows back and let the barbell slide down your body. Even at this point, you’re still not using arm strength to control it, although your grip should tighten as it reaches your lower body.
As the bar travels down, bend slightly at the knees to use your thighs as bumpers. The barbell should not hit your thighs directly but intercept its path enough to slow it down and let you regain control of the descent. At the same time, start bending your upper body, hips, and knees to the starting squat position until the bar touches the ground. To do a consecutive rep, readjust your grip and start over.
Here’s what the entire lift should look like.
Common Clean And Jerk Mistakes
Using The Arms Too Much
Beginner weightlifters often assume they must use their arms to lift the barbell. At first glance, it may seem like the athlete is pulling the barbell up from the ground during the Clean, or pushing it up in the Jerk. However, at almost no point during the Clean &; Jerk do you push or pull the barbell up with your arms.
Your arms are there to guide the barbell and balance it once it’s overhead, but they contribute very little power to the actual lift. Only at the last portion of the Jerk, as you’re extending your arms above your head, do you use any arm power. Arguably 80-90% percent of the power comes from your legs, hips, and back.
Not Hopping
The slight hop you perform during each phase of the lift is there for a reason. If you don’t let your feet lift off the ground and land with a full foot, the majority of forces will be transferred through your toes. This can lead to loss of balance, pain, and various injuries such as sprains or fractures in the foot.

Wearing The Wrong Shoes
The type of footwear you use when attempting to lift weight can make a massive difference in your performance and safety. Only shoes designed for weight training provide the necessary foot support and are strong enough to withstand the forces that occur during weightlifting. Not sure which pair to get? Our guide is here to help you get a pair.
Inconsistent Bar Path
Even though your body moves into various positions during the lift, the barbell should travel vertically. If you find the barbell travels too far from your body and moves forward or backward as you lift, some part of your technique is wrong, and you may need to relearn it and practice with less weight.

How To Program the Clean and Jerk Into Your Workout
The Clean and Jerk workout is very versatile, as it can easily be adjusted by the number of sets, repetitions, weight capacity, and landing type to provide various benefits. As such, it can be incorporated into many fitness programs like strength training, functional fitness, CrossFit, and others.
Olympic lifts are highly demanding exercises, so it’s a good idea to have them as early on in your workout program while you’re still fresh, have loads of energy, and are mentally focused. How much of the exercise you’ll be able to pull off will depend on your athletic level and exercise, but here are some general guidelines to follow:
- For building strength, power, and muscles, aim for 3-5 sets of 3-5 reps using heavy weights at around 80-90% of your maximum capacity. To stimulate muscle growth, it’s highly recommended you utilize a Progressive Overload. This means you start your first set with the lowest weight setting to focus more on technique and prepare yourself physically and mentally. Then, you will add more weight to every subsequent set progressively. Your last set should be done with the highest weight capacity. However, this doesn’t mean you should go for your absolute maximum. At that point in the workout, your body will be worn out, and you won’t have full physical and mental strength. Attempting to push records in this state can lead to mistakes and injury. Take your time to rest anywhere between 2-3 minutes between sets, and use this time to readjust your equipment to avoid staying idle while cooling down.
- For developing explosiveness, endurance, and agility, among functional benefits and other benefits, aim for 3-5 sets of 8-12 reps using a medium-weight setting at around 50-70% of your maximum capacity. It’s also highly beneficial to do a preparation set using a barbell to practice form and activate the necessary muscle groups before adding more weight resistance. Here, you can also utilize Progressive Overload to push yourself and get more out of your workout. To avoid exercise fatigue, start your first rep from the ground, then utilize the Hang Clean variation instead of always resetting back to the floor. Rest anywhere from 1-2 minutes between sets, and avoid staying idle and cooling down by using this time to readjust your equipment.
- Finally, if you want to push personal records or train to compete in weightlifting, you’ll want to go for 2-3 sets of a single repetition at maximum capacity. Of course, if you feel you can do more or have pushed yourself too hard, feel free to readjust the weight setting. This time, you want to rest at least 3-5 minutes between each attempt. This rest time allows your body to replenish its energy stores, reduce the buildup of lactic acid, and recover from the fatigue caused by the previous attempt. It also gives your nervous system time to recover, which is important for maintaining proper form and technique on subsequent attempts.
Clean And Jerk Variations
Clean And Jerk With Squat
This exercise variation combines three lifts, the Clean, Jerk, and Squat, into one. To perform it, once you catch the barbell overhead, use this position to do an Overhead Squat. The movement is the same as a regular squat, except you balance the barbell above your head.
Hang Clean &; Jerk
In this variation, everything except the starting position is the same. Instead of starting off the ground, we start our exercise from the “Hang position.” The athlete is already standing straight in the hang position, with knees slightly bent and the bar “hanging” from his arms. The rest of the exercise is the same: push with your feet, catch in the Clean, and finish the Jerk. This variation is commonly used as it allows for consecutive repeats.
Watch the video: Clean No Hang
Rhythm Clean &; Jerk
The Rhythm Clean &; Jerk uses the same motion as the standard variant, except we use a much lighter weight to allow us to quickly and safely do multiple reps. The goal of this version is to perform a higher number of reps using the same tempo (rhythm), focusing more on the exercise’s functional benefits than strength building.
Single-Handed Clean And Jerk
The basics of the exercise are the same, except you’ll perform the lift with one hand, using a dumbbell or kettlebell. In this version, the athlete works out the strength of one side of their body and balance on the other. This can be a good way to add some variety to your exercise and is especially beneficial if you’re recovering from injuries on one side, preventing you from using a barbell.
Conclusion
Congratulations, you now know how to do the Clean and Jerk.
On top of that, you’re armed with fun facts and tips that you can use to impress fellow fitness enthusiasts.
Remember, the exercise will help you develop strength and performance and fit into various workout programs, regardless of athlete level.
Do you feel ready to take on the Clean &; Jerk?
Also, which tip or section in this guide did you find most interesting or informative?
Leave a comment letting me know, and remember to follow me on social media for more valuable fitness content.