Strength And Conditioning, Volleyball, Weightlifting
Teaching The Hang Power Clean
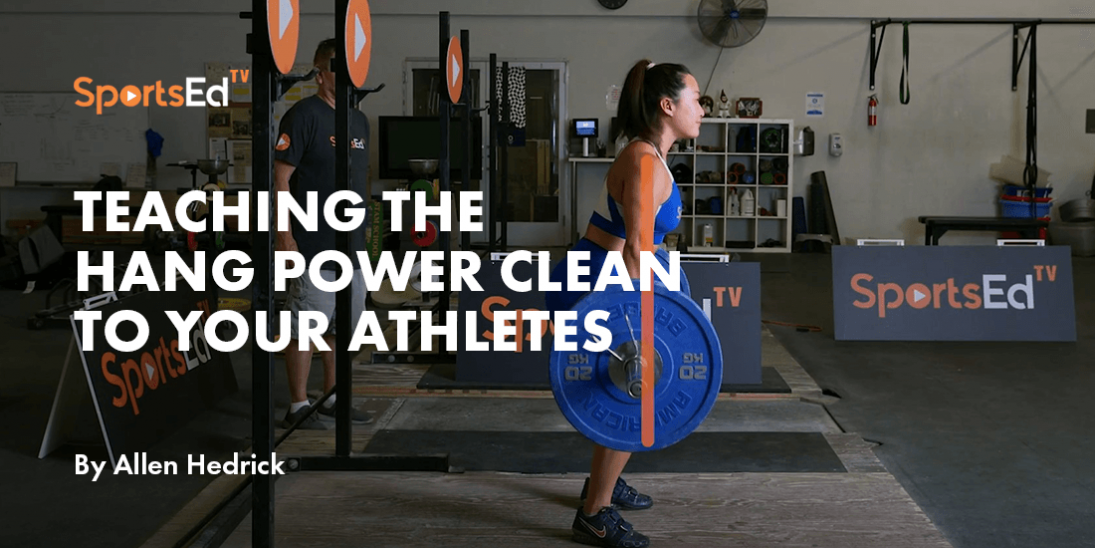

Teaching the Hang Power Clean to Your Athletes
Performing the weightlifting movements (i.e., cleans, jerks, snatches) and their related training exercises (e.g., hang power clean, power jerks, hang power snatches) are recognized as a valid training method to enhance power output in all types of athletes. Garhammer (3,4) showed that weightlifters produced much higher power outputs performing maximal snatches and cleans than do powerlifters performing maximum deadlifts and back squats.
Further, it is also recognized that, for athletes, power is a key component of high-level performance. As explained by Kikka (1), “In a sports context, power is defined as strength applied at speed. In other words, power combines strength with a functional, sports-specific technique for the ultimate performance. This makes it essential for a wide variety of sports and playing positions.”
As a result, we know that weightlifting movements are one method that can be used to enhance power outputs, and we also know that the ability to generate high levels of power is important in athletics. As a result, if you are coaching volleyball, basketball, football, padel, soccer, or a myriad of other sports that involve high-speed movements, it probably makes sense to include the weightlifting movements in the training programs you design and present to your athletes. This is true because it is important to select exercises based on their movement patterns rather than choosing an exercise simply because it trains the desired muscle group (2).

The problem with this is that the weightlifting movements are complex to teach and learn. The good news is that it is possible to effectively simultaneously coach large groups of athletes on how to perform a hang power clean relatively quickly and have them perform the movement with an efficient technique in a short period of time. I make this statement because, over the duration of my career, I have literally taught 1000s of athletes in large group settings how to perform a hang power clean with reasonable technique within 40-60 minutes. Of course, constant high-quality coaching is necessary to further refine the movement for the remainder of their time spent training with you, but a good starting point can be developed after that initial introduction.
Let me also say that occasionally I would interact with an athlete who, for whatever reason, just could not learn to perform the movement properly, no matter how much coaching they received. In these cases, I learned to find an alternative training method to bring about the desired increases in power development, but they were certainly the exception to the rule.
Step-By-Step Instruction
Some strength and conditioning coaches avoid programming the weightlifting movements into the workouts they design for their athletes because of the high technical requirements these movements require. For example, it is more time-consuming to teach weightlifting movements than teaching more traditional exercises such as a squat or bench press. However, what has to be considered are the performance benefits the weightlifting movements provide that justify their inclusion in almost any strength training program for athletes.
Various methods have been proposed to teach the hang power clean, and they all can be effective. The teaching progression I present here proved to be very efficient in teaching groups of athletes how to perform the hang power clean. This progression takes a complex movement pattern and breaks it down into 10 steps, with each step building upon the previous step. Because of this, the athletes learn to perform the movement in sequential components, making the learning experience easier to understand and apply (5).
The SportsEdTV weightlifting library demonstrates several ways to perform the hang power clean (or hang clean). While blocks are the preferred manner of instruction, it is also possible to learn from the hang (no blocks). Coach Hedrick describes one particular starting position; our library shows several. We also instruct learning the entire squat clean, not just the power clean. To remain consistent with this blog, simply stop the squat descent once the bar is racked on the shoulders.
Step 1: Education
Learning the hang power clean does take time and focus. Because of this, it is important to educate the athletes as to the value of performing the movement and enhancing athletic performance so that they are motivated to learn how to perform the exercise correctly. From an athletic standpoint, these benefits include:
- The movement is performed from a standing (athletic) position
- Performing a hang power clean involves the majority of major muscle groups in the body
- A correctly performed hang power clean involves triple extension at the ankle, knee, and hip, an action seen in many athletic movements (e.g., jumping, sprinting, tackling)
Step 2: Demonstration
It is helpful to demonstrate a properly performed hang power clean so the athletes have an idea of what the movement should look like when correctly performed (5). If the coach cannot demonstrate a well-performed hang power clean, he or she can use an athlete who has good technique to demonstrate the movement.
Step 3: Foot Position
Executing a well-performed hang power clean is biomechanically similar to performing a vertical jump. Because of this, it makes sense to initiate the teaching process by establishing a correct jump position with the feet. This is done by having the athlete take one step forward as if they were about to perform a maximum vertical jump off of two feet, but instead of jumping, instruct the athlete to freeze in that jump position. Normally, the athlete will automatically place their feet in the correct start position.
Step 4: Hand Position
Ask the athletes to establish the correct foot position as just determined in the previous step. From there, the athlete should place his or her hands on the bar several inches wider than shoulder width in a palm-down (pronated) position with the thumbs resting on the top of the bar and pointing toward the lifter. From there, have the athlete slowly slide their hands in towards the body until the tips of the thumbs barely touch the outside of the thighs. This provides a good starting position that may be adjusted slightly based on individual preference.
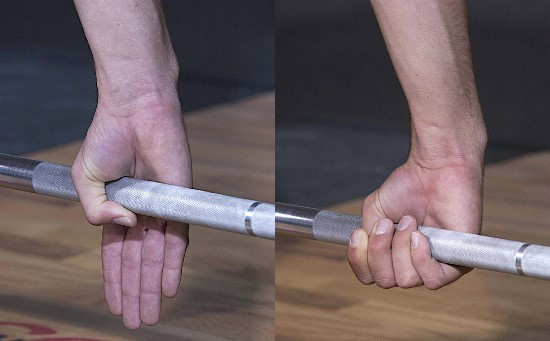
Step 5: Grip
The hook grip (thumb wrapped around the bar, fingers wrapped around the thumb) provides the most secure grip on the bar. As a result, athletes should be required to use this technique when performing the hang power clean. Many athletes initially find the hook grip very uncomfortable. The good news is this discomfort decreases significantly during the first few weeks as long as the athlete is consistent in using the hook grip.
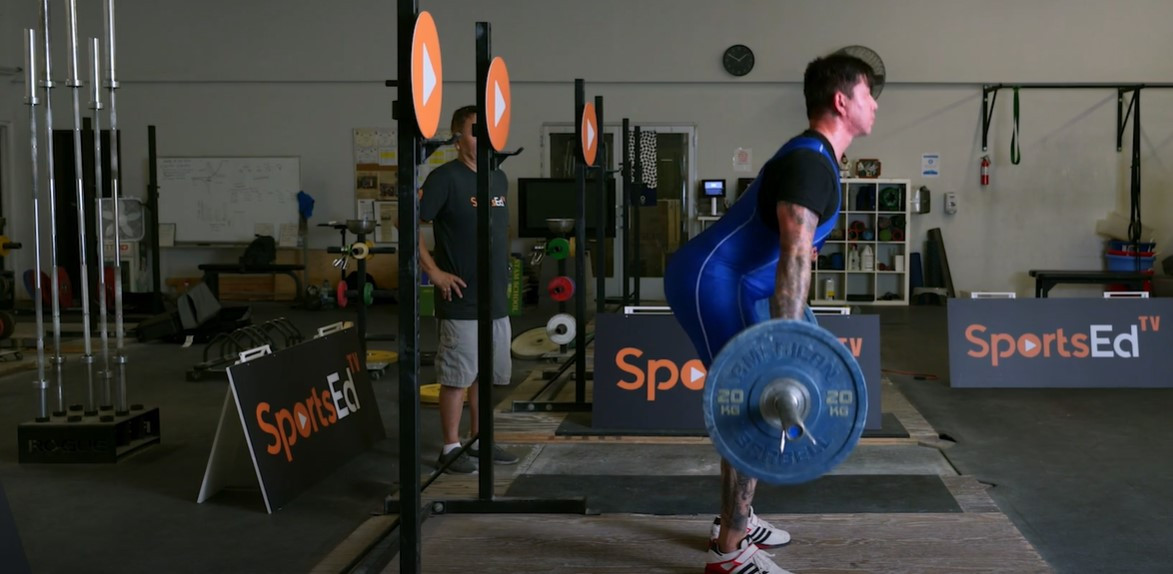
Step 6: Start Position
To establish the correct start position, have the athlete pick the bar up and establish a fully upright standing position with the hands in the correct position on the bar as just established. This should place the bar at about a mid-thigh position. At this point, instruct the athlete to sit (not lean) into a semi-squat position so the bar is positioned just above the knee. The athlete should have their head in a neutral position, back arched, and shoulders directly on top or slightly forward of the bar.
Establishing the correct shoulder position normally takes more coaching than the previous steps just described. The most common mistake is that the athlete places himself or herself in a position where the shoulders are behind the bar. When attempting to correct this position, the athlete often changes the height of the bar on the legs. When performing a hang power clean (unless the workout calls for a mid-thigh start position) the position of the bar just above the knee is not a variable, that is the one correct position. Keeping the bar in this position but adjusting into a position where the shoulders are directly on top, or just forward, of the bar is accomplished by having the athlete reduce the amount of flexion at the knee joints (i.e., straighten the legs), which causes the shoulders to move into the correct position relative to the bar.
Be aware that progressing through each of the steps just described can occur fairly quickly, though establishing the correct start position as described in step 6 can sometimes require additional time for the athlete to consistently achieve the correct position. However, steps 7 through 10 require greater coaching time for most athletes. Generally, I have the athletes perform 3 sets of 5 repetitions on each of the following steps before progressing to the subsequent step, but I never allow the athletes to move to the next step until the athlete can perform each step correctly. Performing 3 × 5 gives most athletes the required time to perform the movement correctly. However, it is not unusual for some athletes to require additional practice time. The critical point is to not progress the athlete until their performance warrants that happening. The full movement will never be performed correctly if one of these intermediate steps is not performed correctly. This is where developing a good coaching eye is of value in making the decision as to whether or not the athlete is ready to advance to the next step in the learning progression.
Step 7: Jump Shrug
From the start position just described, have the athletes aggressively extend their hips in a jumping action. The back should be flat, the head is neutral, and the heels rise off the ground as a result of the jumping action. At the top of the jump, the athlete aggressively shrugs their shoulders straight up with no elbow bend, attempting to touch the ears with the shoulders. Make sure this shrugging action does not occur too soon; it should occur once the hips are fully extended.
Step 8: Low Pull
After progressing through the jump shrug the athlete can be advanced to performing a low pull. This involves performing the jump shrug as just described but, at the top of the shrug position, have the athlete bend their elbows slightly so that the bar is pulled to about the height of the navel. It is important to keep the elbows above the wrists so that the bar remains tight to the body rather than looping away from the body. Remember that the bar should be elevated only to the height of the navel.
Step 9: High Pull
Progressing from the low-pull position just described, have the athlete continue the pulling action and progress to a high-pull position so that the bar is brought to sternum height. Care must also be taken not to pull the bar higher than the sternum because doing so almost invariably requires the loss of the desired elbows above the wrists position and thus, separation of the bar away from the body. The emphasis has to be on the athlete pulling with the elbows above the wrists so that the bar stays tight to the body as the bar is elevated to the desired height. Asking the athlete to focus on drawing a straight line with the bar rather than looping the bar sometimes helps the athlete understand the desired movement pattern.
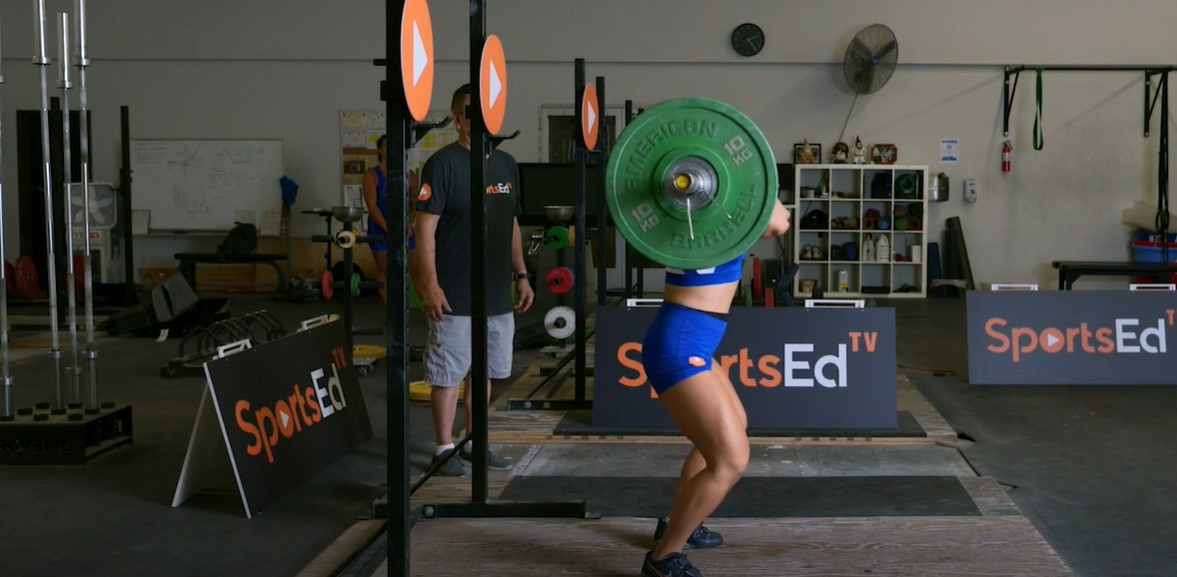
Step 10: Power Clean
The final step in the teaching progression is to have the athlete catch the bar in the power position. Be aware that any repetition caught above parallel is considered to be a power clean. However, at this stage in the learning process, we are asking the athlete to catch the bar in a tall position where the squat depth is minimal. Have the athlete start from the hang position and fluidly flow from the jump shrug to the low and high pull positions before catching the bar on the shoulders in the power position just described. From the high-pull position, the athlete lowers into a semi-squat position, causing the shoulders to be lowered under the bar. At the completion of the high pull, immediately before the athlete starts to drop into the semi-squat depth, the hook-grip is released so that the elbows can be brought around the bar in a high rack position, and the bar is caught in the hands resting on the shoulders. When dropping into this semi-squat position, the athlete sits back at the hips with heels on the floor and knees over the toes. In this catch position, the head is neutral, the back is flat, and the elbows are high.
Summary
Performing the hang power clean offers your athletes numerous benefits related to increasing power production capability and improving athletic performance. Remember that power is defined as strength applied at speed and a well-executed power clean must be performed at a high rate of speed. Although initially time-consuming to teach, the process becomes easier when broken into small steps. In my opinion, the benefits gained from performing the hang power clean justify the time and effort required to teach the movement to your athletes.
References
- Daniel Kikka Power in sports and athletic performance – and why you need it. Fitness Components, Sports Science, Education, 2019.
- Fleck, S.J. and W.J. Kraemer. Designing Resistance Training Programs. Champaign, IL: Human Kinetics, 1987. pp. 47–74.
- Garhammer, J. A review of power output studies of Olympic and powerlifting: Methodology, performance prediction, and evaluation tests. J. Strength Cond. Res. 7(2):76–89. 1993.
- Garhammer, J. and Gregor, R. Propulsion forces as a function of intensity for weightlifting and vertical jumping. J. Appl. Sports Sci. Res. 6(3):129–134. 1992.
- Magill, R.A. Motor Learning: Concepts and Applications (3rd ed). Dubuque, IA: W.C. Brown, 1985. pp. 438–442.