Weightlifting
Welcome and thanks for visiting...

Learn to Clean & Jerk
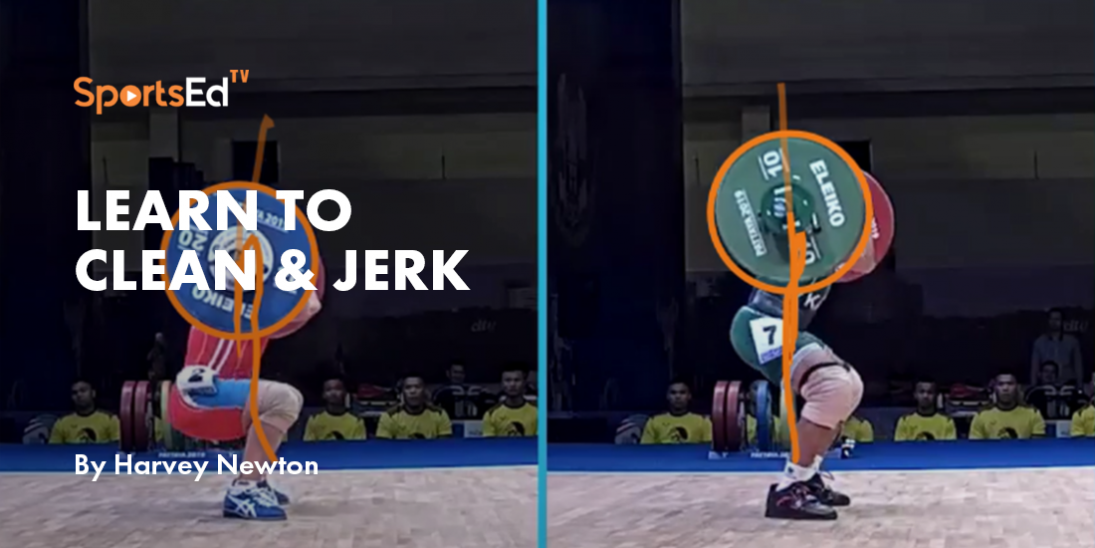
Weightlifting’s second competitive lift, the clean & jerk, is known as the “King of Lifts.” This is for a good reason, as the C&J allows the most weight to be lifted from the ground to overhead. Perhaps hard to believe today, but through about the 1960s, when someone offered up the old challenge, “How much can you lift?” it was the C&J that settled the score. Today, that’s now morphed into the more familiar question, “How much can you bench?”
Please review all the finer points of this segment before attempting a C&J on your own. And start with very light weights, learning good, safe techniques. This allows for greater potential down the line. Without a decent technique, one cannot expect to lift maximum weights.
SportsEdTV has set up simple, easy-to-follow lesson plans to help you learn to clean and to jerk. It’s a good idea for newcomers to practice the two lifts separately, but later, it all comes together as one total body movement.
Study all the details of the clean and jerk technique before attempting this lift.
In order to optimize performance, it’s important to learn good technique early (before too many bad habits are formed), easily (with light weights), and consistently. After solid technique has been mastered a new lifter can then begin to lift heavier weights.
As a first step toward learning to squat clean, be sure you can safely perform the front squat exercise. If the front squat causes any serious challenges (heels come up, elbows are low near knees, leaning forward excessively, etc.) it’s best to instead practice a split or a power clean. The various stages of the pulling action are similar for all types of cleans.
The best way to learn to clean is with a top-down methodology. Start by learning the most explosive “2nd Pull” first, then the more complicated “Transition,” and finally, the “1st Pull.”
Ready? Let’s get started!
CLEAN PROGRESSIONS
If your gym facility has what is called pulling or lifting blocks, we suggest you start like this.
If you do not have access to blocks, learn to snatch by lifting “from the hang.”:
After consistently maintaining a balanced, triple-extended position you’re ready to move to a full squat clean from this high block or hang position. Use your lower body to push the bar upward, and then quickly pull yourself down against the rising bar. Rack the bar high and slowly descend into the squat position, recover, and repeat. With blocks, start in exactly the same position as the previous lesson.
You are encouraged to take several weeks to learn to clean from the high blocks or high hang position. As you become familiar with the lifts and become more consistent, it is time to tackle the transition phase. This is probably the most difficult stage to learn, so don’t rush things.
If you have blocks, lower them so the bar is now just below your kneecaps. Pay attention to the changes in body position needed in order to return to your previously learned high block position.
If you’re not using blocks, here’s the same exercise from the low hang.
As the clean pull from the low blocks or low hang becomes consistent, move now to a full squat clean from this same position.
Without blocks, it looks like this.
After several more weeks (or months) of practicing the clean from a position around the knees, you are ready to lift from the platform. It’s a good idea to initially practice setting up and lifting only to the knees (hold for 2 seconds), and return. This is the 1st pull, not shown in the Learn To videos, but well worth practicing a few times. Again, look at changes in body positions when lifting from the platform.
Start slowly; don’t try to lift too quickly at first. Eventually, you will perform the clean (from lift-off to rack) in less than 1 second. But, if you try to go too fast from the platform, you may miss some of the key positions you have already mastered using the top-down method. (You’ll see two different clips here featuring two lifters performing the squat clean.
JERK PROGRESSIONS
The first step is to simply practice pressing an empty bar overhead, with the bar finally located over your ears and shoulder joints. Start as if you are ready to jerk (stand straight, weight balance in the middle of the foot, elbows in front of the bar when seen from the side, and bar resting on the shoulders and clavicles).
Next we add the dip portion of the jerk by practicing the push press. Aim for a consistent depth of around 4” to 6”, keeping the feet flat during the dip, but driving up onto the toes during the drive portion of the lift. End up by pressing the bar overhead from about eye level.
The third step is to again dip and drive, but now push the body down under the rising barbell so there is no pressing action at all. This is called the power jerk, meaning you catch the weights like a power snatch or a power clean, in a partial squat posture.
Next, we practice the splitting action, which allows you to successfully jerk weights overhead without any pressing motion (a technical rules violation). Determine which foot you prefer to have in which position and practice a well-balanced split and recovery before attempting the final stage:
You’ve now put together all the components of the jerk, so let’s take the final step: the jerk from rack exercise.
You’ve practiced all the components of the King of Lifts. Gradually begin cautiously increasing weights and practicing the entire lift. Keep the repetitions at no more than five. Reinforce these progressions with excellent practice and enjoy the exciting clean & jerk!
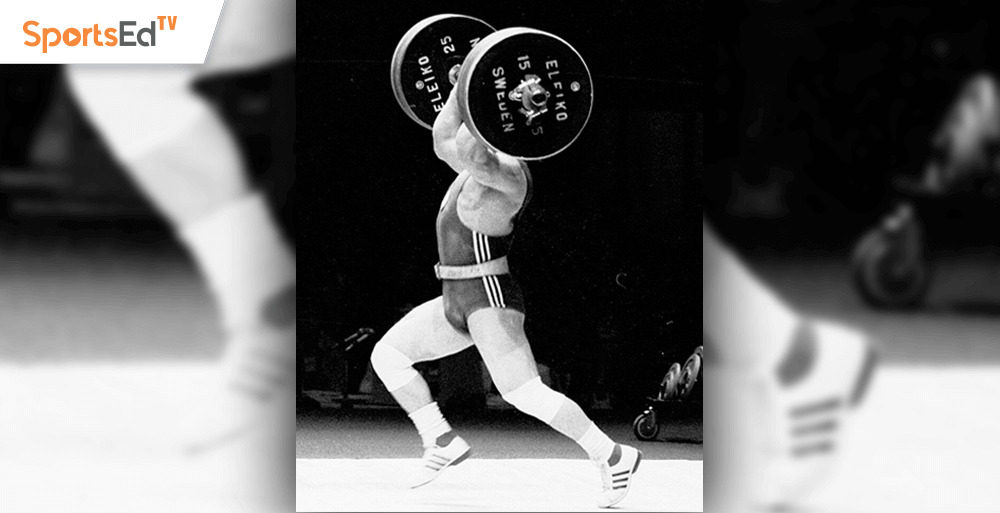
Featured image credit: Klemens Photography


