Baseball
Welcome and thanks for visiting...

Putting Together Your Own Baseball Field

Setting up your own baseball field might sound like a grand endeavor, but with some planning, execution, and passion for the game, it’s entirely achievable. More importantly, it can be a gratifying undertaking for your community. Here’s a seven-step process for bringing America's favorite pastime to your doorstep.
1. Find the Perfect Location
A baseball field requires more than just a vast open space. You want a level area that allows players to easily run across without tripping on bumps or divots in the turf. Sports-related injuries account for approximately 5% of hospital visits among children. The condition of the terrain is an exacerbating factor and should be addressed from the start.
The area should also have adequate drainage, or your team will have a waterlogged field as the seasons change. An ideal spot for this is a community park with a large unused space.
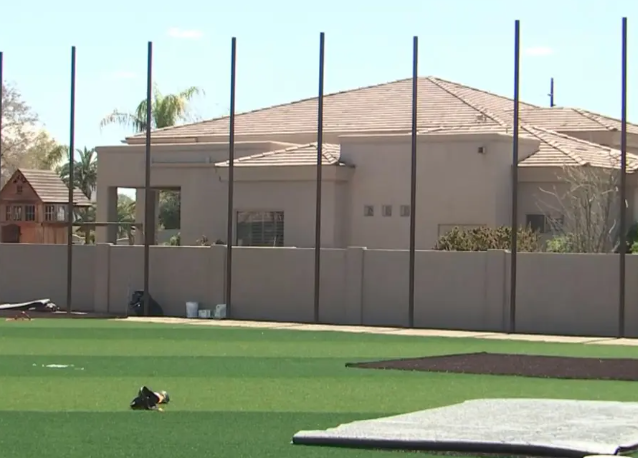
Get permission from HOA if you have one before commencing the build. You don't want to end up like former MLB All-Star J.J. Hardy, who recently got into a neighborly dispute over constructing a mini baseball field in his yard.

2. Make Sure It Can Accommodate the Field Specs
As you know, baseball fields have a quadrant shape with unique specifications. Ensure the space you choose can accommodate these dimensions. The distance between each base is 90 feet, but feel free to scale the measurements depending on whether you’re designing for T-ball or Little League baseball.
Another consideration is the field orientation. You want to maintain an east-northeast alignment from home plate to second base to minimize the sun’s glare during gameplay.
3. Clear the Land
Preparing a site for development involves clearing away rocks and native vegetation, such as stumps, exposed roots, and weeds. The amount of work required will depend on the type of obstruction.
Simple hand tools like axes and brush cutters may suffice for smaller sites with few obstacles. Heavy-duty brush-clearing tools like tree pullers or brush grubbers may be required for areas with thick trees and bushes.
4. Create the Infield and Outfield
Experts recommend an infield dirt mixture of sand, clay, and silt in a 60-20-20 ratio for a suitable playing surface. This combination creates a firm base that withstands the wear and tear of regular use and prevents the plate from moving or sinking over time. The sand provides excellent drainage so water doesn't pool around the elevated pitcher’s mound after rainfall.
For the outfield, you’ll need the right grass type that combines durability and lushness. Kentucky bluegrass is a popular choice because it can withstand the rigorous demands of baseball and has a famously soft texture, which is handy when players need to dive to catch balls. This grass takes around three to four weeks to germinate, so you’ll want to have the seeds ready before field development. Suitable alternatives include perennial ryegrass and tall fescue.
Artificial turf is great, too — especially if you’re unwilling to wait for the natural grass to develop a dense sod for sports use.
5. Install the Bases and Pitcher’s Mound
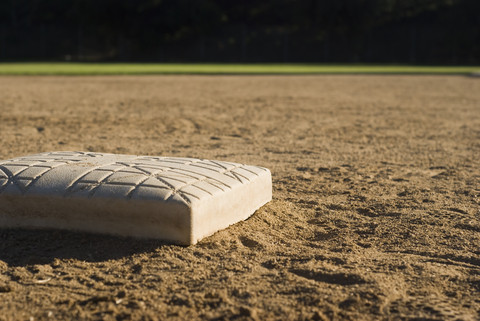
With the site fully cleared and leveled, it’s time to set up the on-field equipment. Start with the home plate, as its location pretty much dictates where you place everything else.
The positions of the bases, pitcher's mound, and outfield fences are all measured from home plate, which is essential for two reasons. First, it allows you to make precise measurements between the field elements. Second, it lets you achieve proper angles, ensuring the field forms a perfect square with 90-degree angles between the bases.
Many sporting goods stores sell baseball equipment sets that include everything you need, so much of the installation process involves marking where to place the pieces.
6. Set up the Backstop and Fencing
Installing a backstop is crucial for protecting spectators from foul balls and errant pitches. It also prevents balls from rolling too far away and interrupting the game. Depending on the available space, the general recommendation is to set it up 40-50 feet from home plate. This is important, especially if you intend to use the field for competitive games.
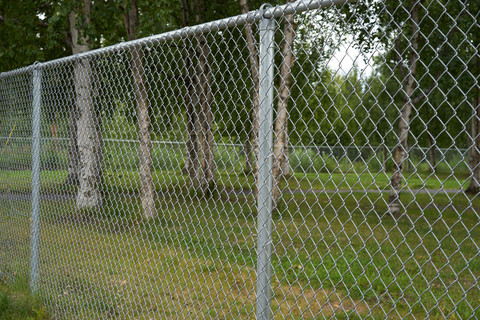
Chain-link fencing is a popular backstop option for most starter baseball fields. It’s sturdy, meets height requirements, and is affordable, costing around $8 to $40 per linear foot. You can also use the same material for the outfield to mark the home run boundary.
7. Add the Final Features
By this stage, your baseball field should be coming along nicely. Adding the finishing touches involves installing dugouts, bleachers, and a scoreboard.
Depending on your budget, these additions can be as simple as placing comfy benches for teams and spectators beside the field or as complex as constructing designated sheds. Pay close attention to where you put the bleachers so supporters are not in the direct line of fire from foul balls. The scoreboard can be as rudimentary or advanced as your financial capacity allows.
Concession stands and restrooms round out the final features of your baseball field. These facilities are essential to enhancing the overall experience of players and spectators.
Build Your Own Field of Dreams
Putting together a baseball field is a labor-intensive yet rewarding project that brings people together for years to come. Whether for a community, school, or just for fun, the excitement of having your baseball diamond is unparalleled. Batter up and build your field of dreams.


