Basketball
How to Shoot a Basketball
There comes a time in every young basketball player's life when pushing the ball toward the basket, hoping to hit the rim, becomes pushing the ball up and over the rim. The joy of the first basket.
Maybe you remember your first basket, or maybe you remember the first basket you watched your child, niece or nephew made. The slow bend in the knees, both hands under the ball ready to be pushed with all the strength and power the young hooper has, how the ball cocks back over one side of their head. Let’s be honest, the shot, it’s ugly. But it represents so much more. It represents interest shared with loved ones, and little does your little one know, the work is just beginning.
This kid needs to learn how to shoot!
In this blog, we review the three main points of focus to learning how to shoot a basketball. Starting at the base and foundation of the shot, following through to head and elbow placement and the role of the guide hand, this quick guide will act as a jump-off to the proper jump shot.
Basic Shooting Stance
The proper shooting stance is our base and our foundation for great shooters. So the first thing we want to have is his feet about shoulder-width apart. He's a right-handed shooter, so we're going to move his right foot slightly in front of his left foot so that he can be balanced. If you are a lefty, move the left foot slightly in front of the right.
Balance is a huge thing when you're shooting, you don't want to be off balance to control your shot off. It's a tough way to make shots, so we want to really focus on our balance and our feet when we're shooting.
So now we're going to add that with our proper arm positioning. We want him to sit back like he's sitting in the chairs, and now it's going to help him with his release. When he comes up, he wants three extensions. He wants his hip, his knees, and his ankles to extend so he can generate power to get his shot up.
Right now, he's going to get up, he's going to shoot it, and he's going to get up onto his toes and try to make sure the ball lands in front of him.
Head & Elbow Positioning
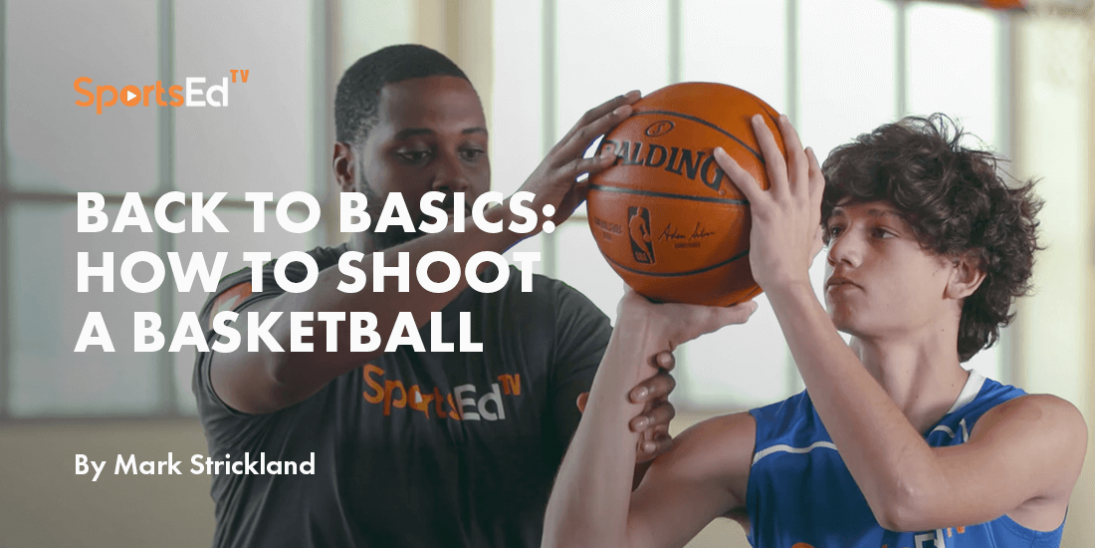
The second fundamental of shooting we're going to work on is hand placement. So we're going to get into his hand positioning. We're going to focus on his hand being directly under the basketball. We want to focus on his elbow being in line with the basketball. So now, we're going to put his arm at a 90 degree angle. Shoulder in line with the elbow, elbow in line with the ball. This way, he can get under the basketball and lift it up and over to put his hand in the basket once he's going to shoot.
Role of the Guide Hand
We're going to talk about the role of the guide hand. It's exactly what it says it is. It's the guide hand and it is there for guidance. It's there to guide the basketball.
The first thing we're going to do is we're going to get back into the stance that we were just in. He's going to sit. He's going to have his shooting hand ready. Now he's not going to touch the ball with the guide hand. We want to make sure that the guide hand is flat. It is there to guide. It's there for assistance. It is not there to help you with your shot. It's going to stay off the basketball. We're not going to touch the basketball and we're going to shoot a couple of reps into the air when we hold it at the top or we shoot at the top.
Commonly known as the gooseneck. We're going to make sure that the guide hand is beside the shot hand. So go ahead. Perfect. So once you release the basketball, you want to make sure that your elbow is above your eye, but now your guide hand is also there with the basketball. Perfect. To be a great shooter, you always have to remember the proper position of your guide hand.