Health
Welcome and thanks for visiting...

How to Save My WOD?
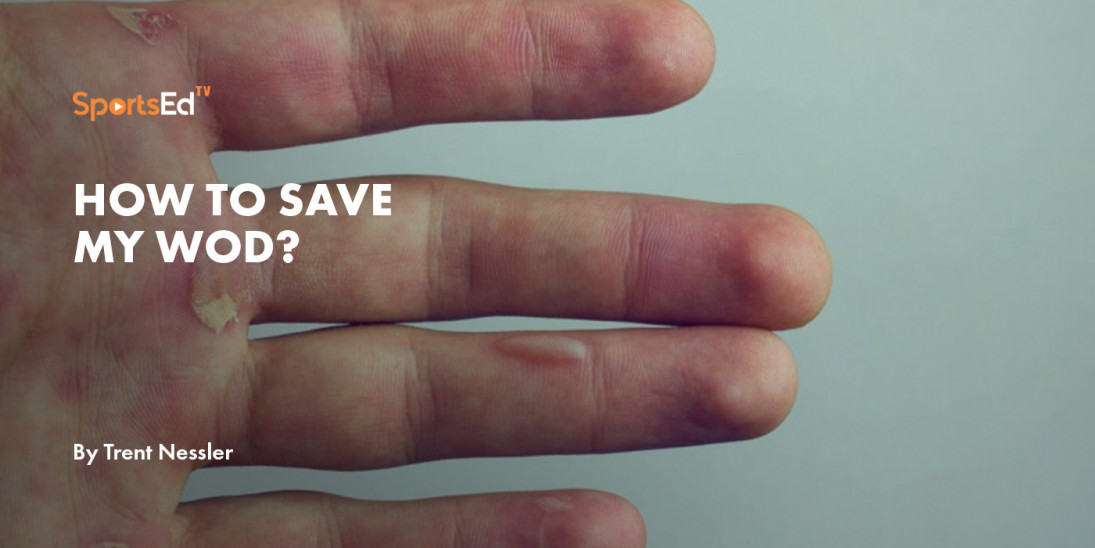
Nothing worse than having a really good workout, hitting a couple of PRs and getting ready to leave and realizing that you have taken several layers of skin off your hands. The pump you feel, the feeling of exaltation and pride of your accomplishment is totally destroyed. The realization that you may not be lifting for the next couple of days comes crashing down on you. Worse yet, you may try lifting the next day to find out you are not only making it worse but had a dismal work out on top of it all. So why does it happen, what can you do to prevent and what can you do if it happens to you?
It is not uncommon to get calluses on your hands with prolonged weightlifting, however you can also develop blisters and tears in the skin on the palm of the hand. Whether you are doing traditional resistance training or HIT (high intensity training), gripping a bar (especially one that has a rough surface) creates a shearing stress on the skin of the palm during these types of ballistic movements. As your hands move back and forth on the bar (especially with ballistic movements like a kipping pull up) this creates a shearing stress on the skin. The skin, which is much better at resisting compression types of stresses, will tend to blister or tear when there is a shearing stress. The more the hand moves back and forth on the bar or surface, the more shearing stress which will tear the skin or injury the tissue below the surface of the skin resulting in a blister.
Knowing this, there are ways to help reduce the risk for these kinds of injuries. These include:
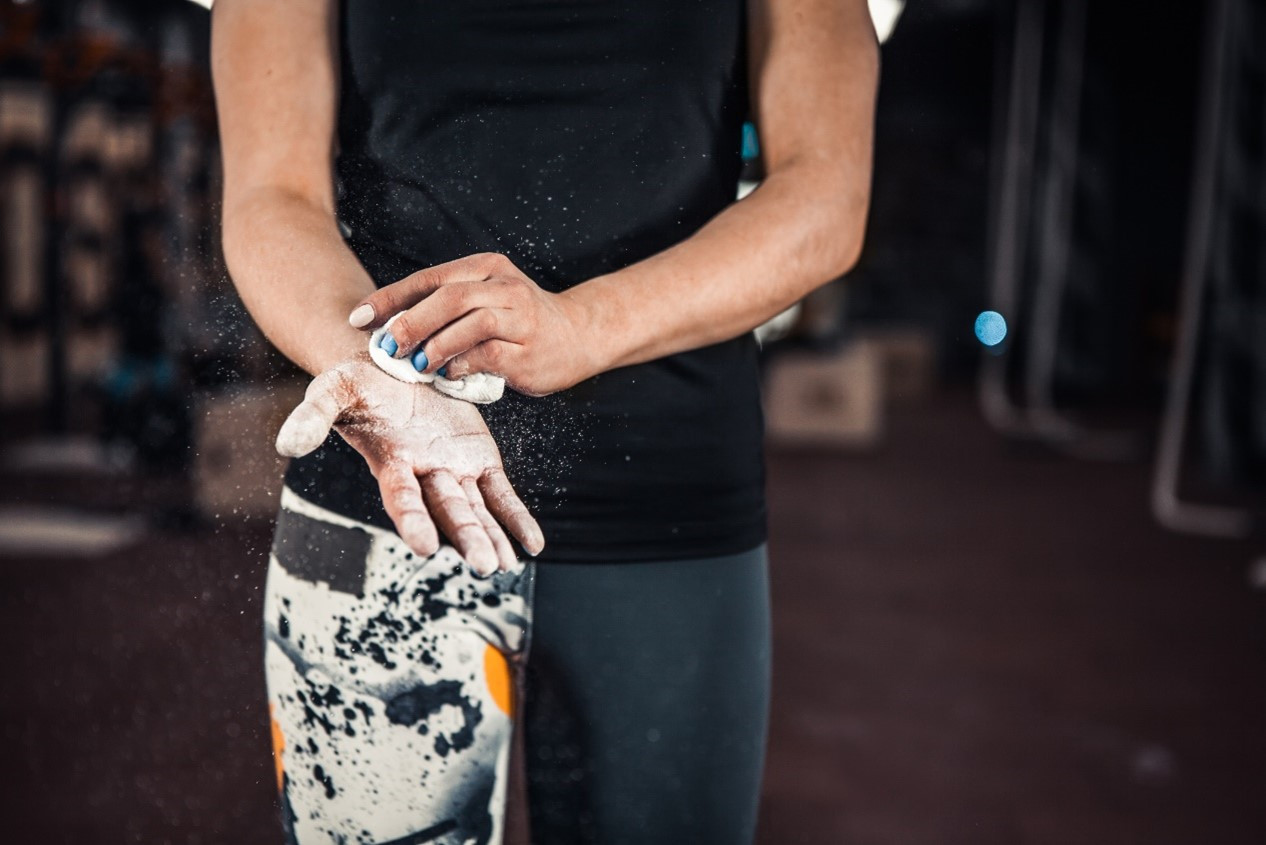
- Chalk – use of chalk on the hands increases the friction between the skin and the bar. This makes it easier to grip and also prevents the bar from slipping in your grip, thus reducing shear stress. The downside to using chalk is that it is messy. Many gyms prohibit the use of chalk due to the mess this will create.
- Gloves – use of gloves puts a layer between your skin and the bar. This moves the shear stress to the surface of the glove and helps to prevent these injuries from happening to your hand. The downside of gloves is that they have to be tight, or this can mess up your grip on a bar. Additionally, you may find you don’t have as good of a grip on the bar with gloves (especially if they are padded). With the added layer between your hands and the glove means that you have to have a tighter grip in order to hold onto the bar, and they often make it more difficult to hang on to the bar. Your hands still shift and can slide inside the gloves. You may have to squeeze the bar harder to keep from falling off.
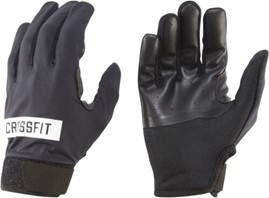
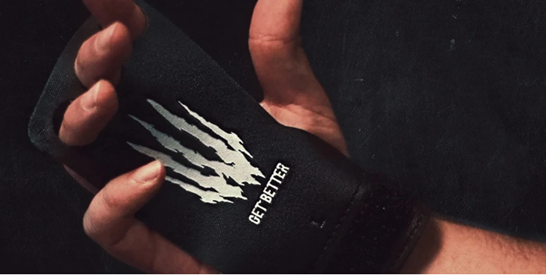
- Hand Grips -Gymnastics grips are a great way to go for CrossFit and high intensity workouts. CrossFit hand grips provide good hand protection and grip strength. They allow you to keep a firm and comfortable grip on the bar, without ripping your hands.
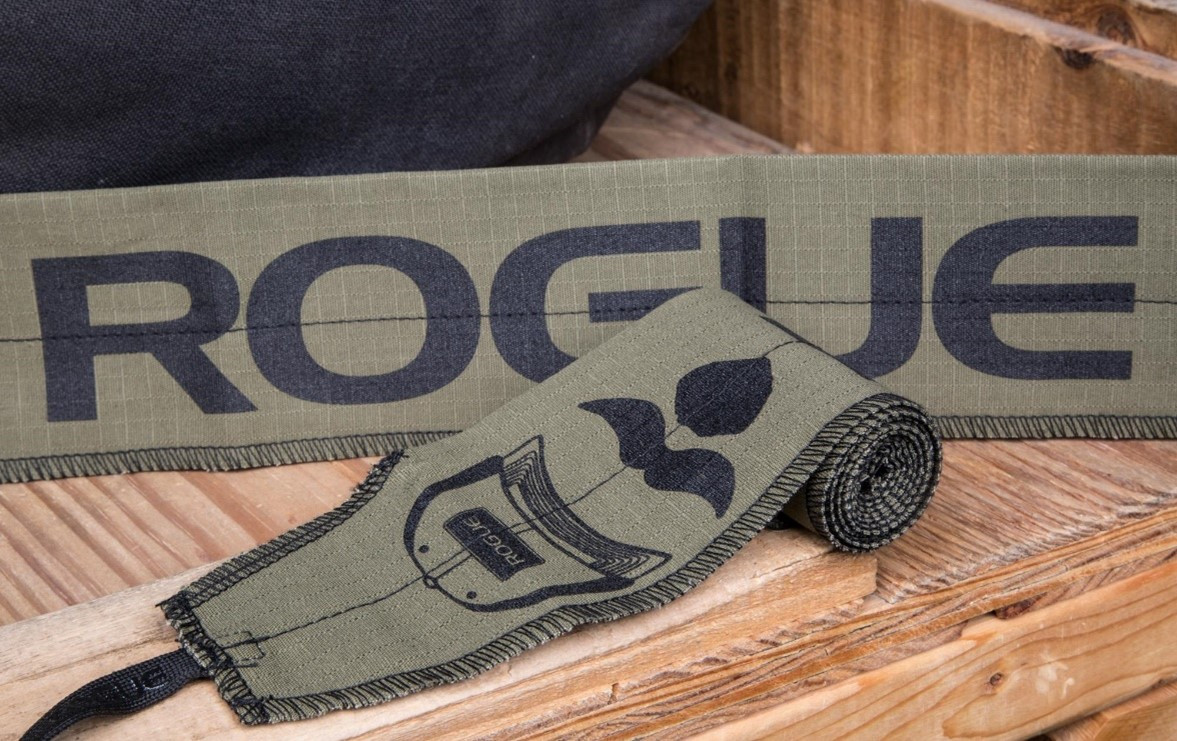
- Wraps or straps – wraps or straps are a thick material that typically wraps around your wrist with an additional piece that hangs down. This longer piece is wrapped around the bar and then you hold the wrapped-up piece of the strap and bar in your hand. This also reduces the shear stress but also contributes to a weaker grip. Since the strap is essentially performing the function of your wrist extensors and flexors (forearm muscles) then they do not have to be as active during the lift, which makes them weaker. Many find they can lift heavier weight with straps however, I am under the philosophy that if you can hold onto the bar without straps, then you need to increase your grip strength.
- Work on grip strength – working on your grip strength will allow you to hold the bar tighter. If you can hold onto the bar tighter, this will prevent your hand from slipping around on the bar thus reducing the shear stress and the likelihood for blisters or injury. Read our blog on maintaining a strong grip
What happens if you get injured? Sometimes these injuries occur despite our best efforts. Obviously, with all the things we know about nutrition and hydration, these play a key role in how your body repairs. That does not mean that once you have the injury that simply starting to eat better and hydrate from that point forward will increase your healing. What it means is if you have maintained a healthy diet and you hydrate on a regular basis, you will heal faster than those who do not. In addition, a healing hack for soft tissue injuries, like blisters, wounds or burns is use of Manuka honey.
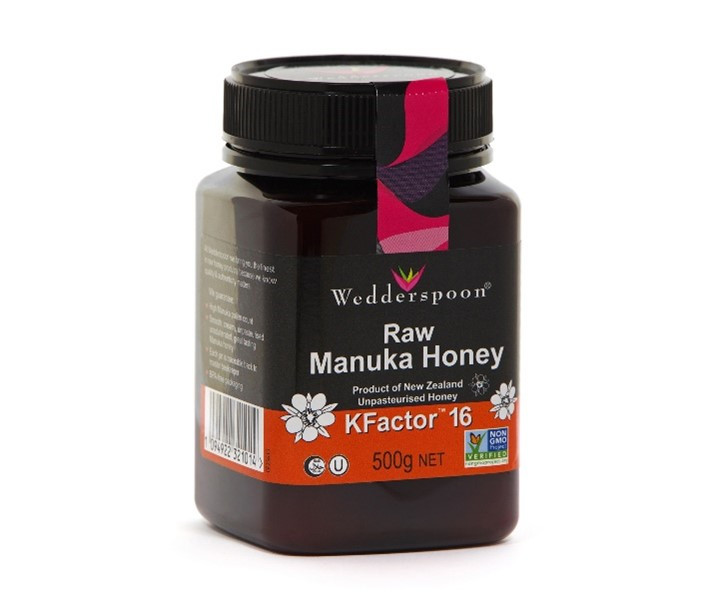
Manuka honey is a honey that is native to New Zealand and is produced by bees who pollinate the flower Leptospermum scoparium, commonly known as the manuka bush. Manuka honey is an antibacterial, antiviral, anti-inflammatory and antioxidant. It has been traditionally used for wound healing, soothing sore throat, preventing tooth decay and improving digestive issues. In 2007, the FDA approved Manuka honey for wound care. It offers an antibacterial and antioxidant properties while providing a moist environment and protective barrier for wounds to heal.
It is important that if you are going to use Manuka honey for wound healing that you use high grade Manuka. There are a lot of impure forms on the market. You want to look for 100% Manuka from New Zealand. For application, you simply put this directly on the wound or on a Band-Aid covering the wound. Application of Manuka Honey has been shown to cut the healing time in half when compared to the traditional treatment.
Hopefully these tips will help you save your next WOD.


